Large classroom visual
A projector, screen or writing surface, source connection, control and optional classroom audio.

Application-led projector guide
Projector class, lens, mounting position and screen should be selected around the audience, room light, image size, content and operating hours.
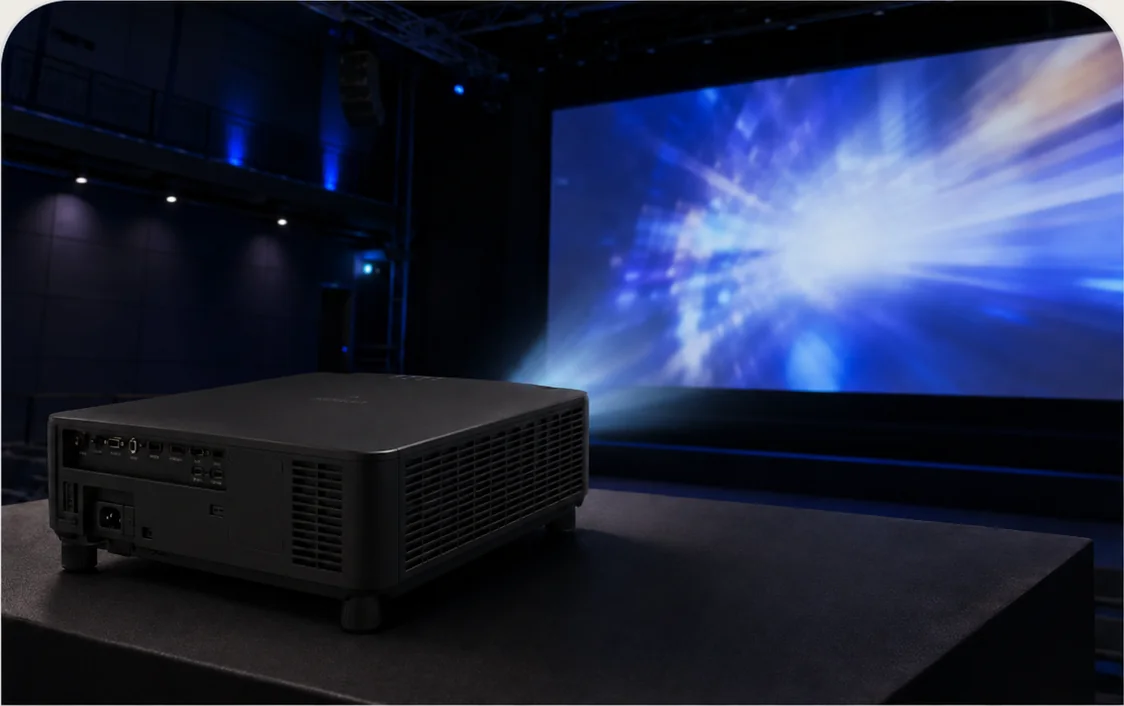
Not one range for every room
A classroom prioritises readable teaching content and simple operation. A boardroom prioritises clarity and connectivity. A large venue needs brightness, lens flexibility and service access. Simulation and immersive rooms add geometry, overlap and low-shadow requirements. Each category below therefore has its own design path.
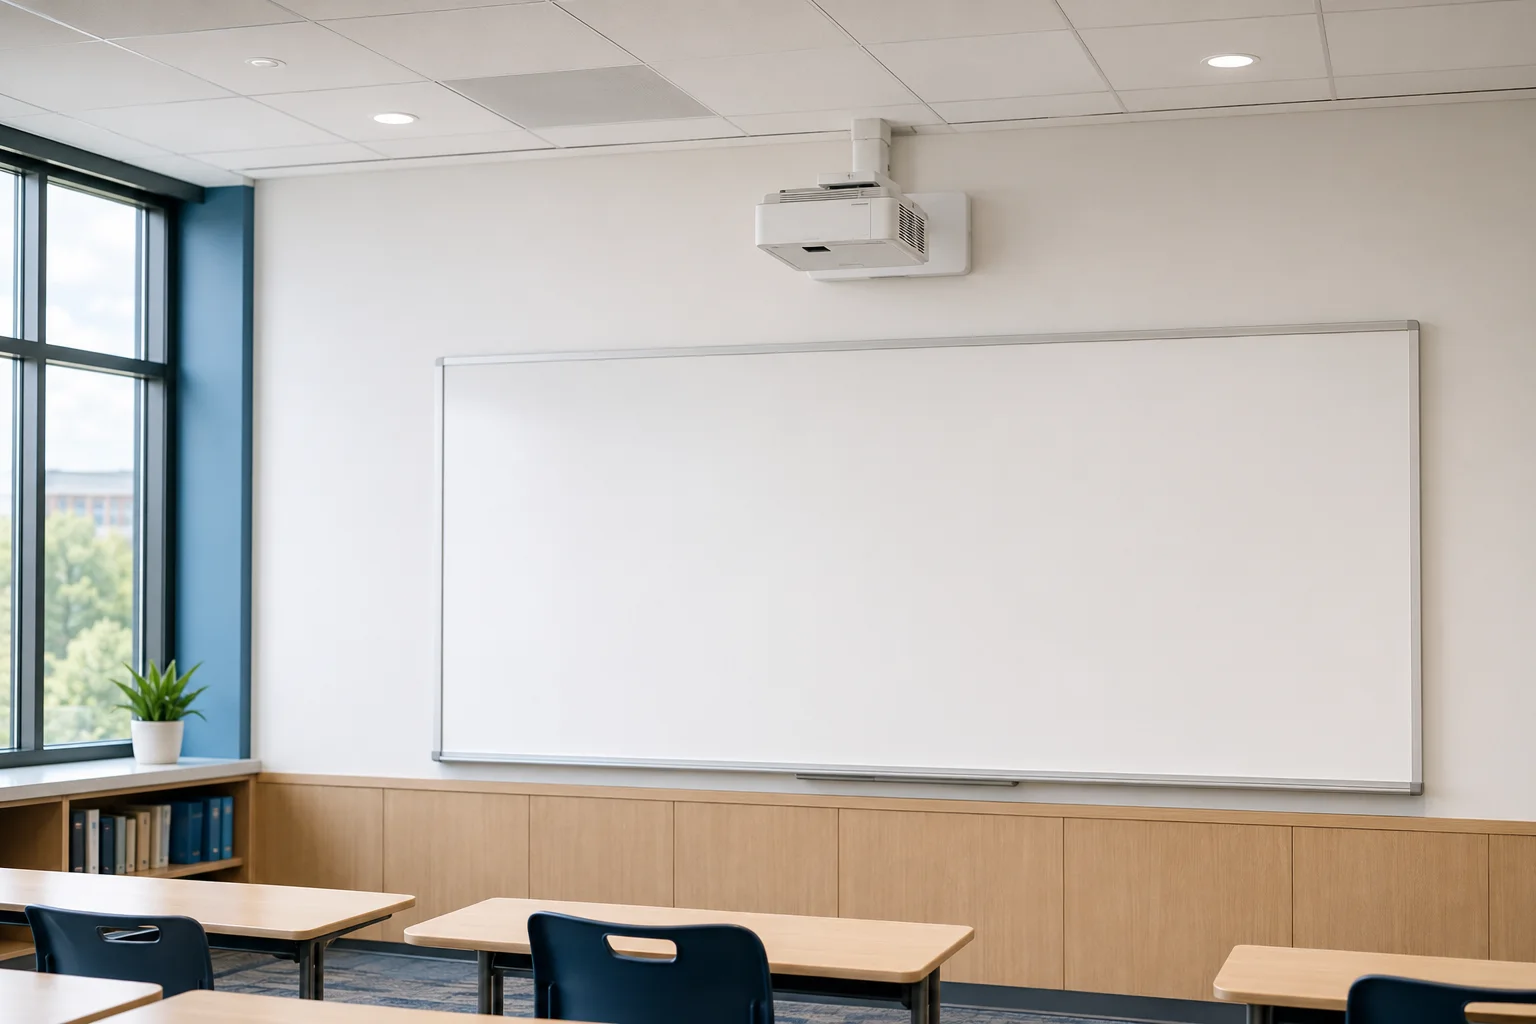
Readable, teacher-friendly visuals for daily lessons, collaboration and interactive learning.
Current model selection depends on image width, board usage, ambient light and mounting position.
A projector, screen or writing surface, source connection, control and optional classroom audio.
A correctly sized image supports diagrams, text and shared content without crowding the board.
For classrooms using digital content, annotation, remote guests or student sharing.
New rooms, phased upgrades and spaces where a very large image is preferred.
Simple controls and consistent room standards reduce support and training effort.
PNSS calculates image size, throw, brightness, mount, cable path and teacher workflow.
Best next input: room dimensions, front-wall photo, seating count and normal lighting condition.
Discuss classroom projection ↗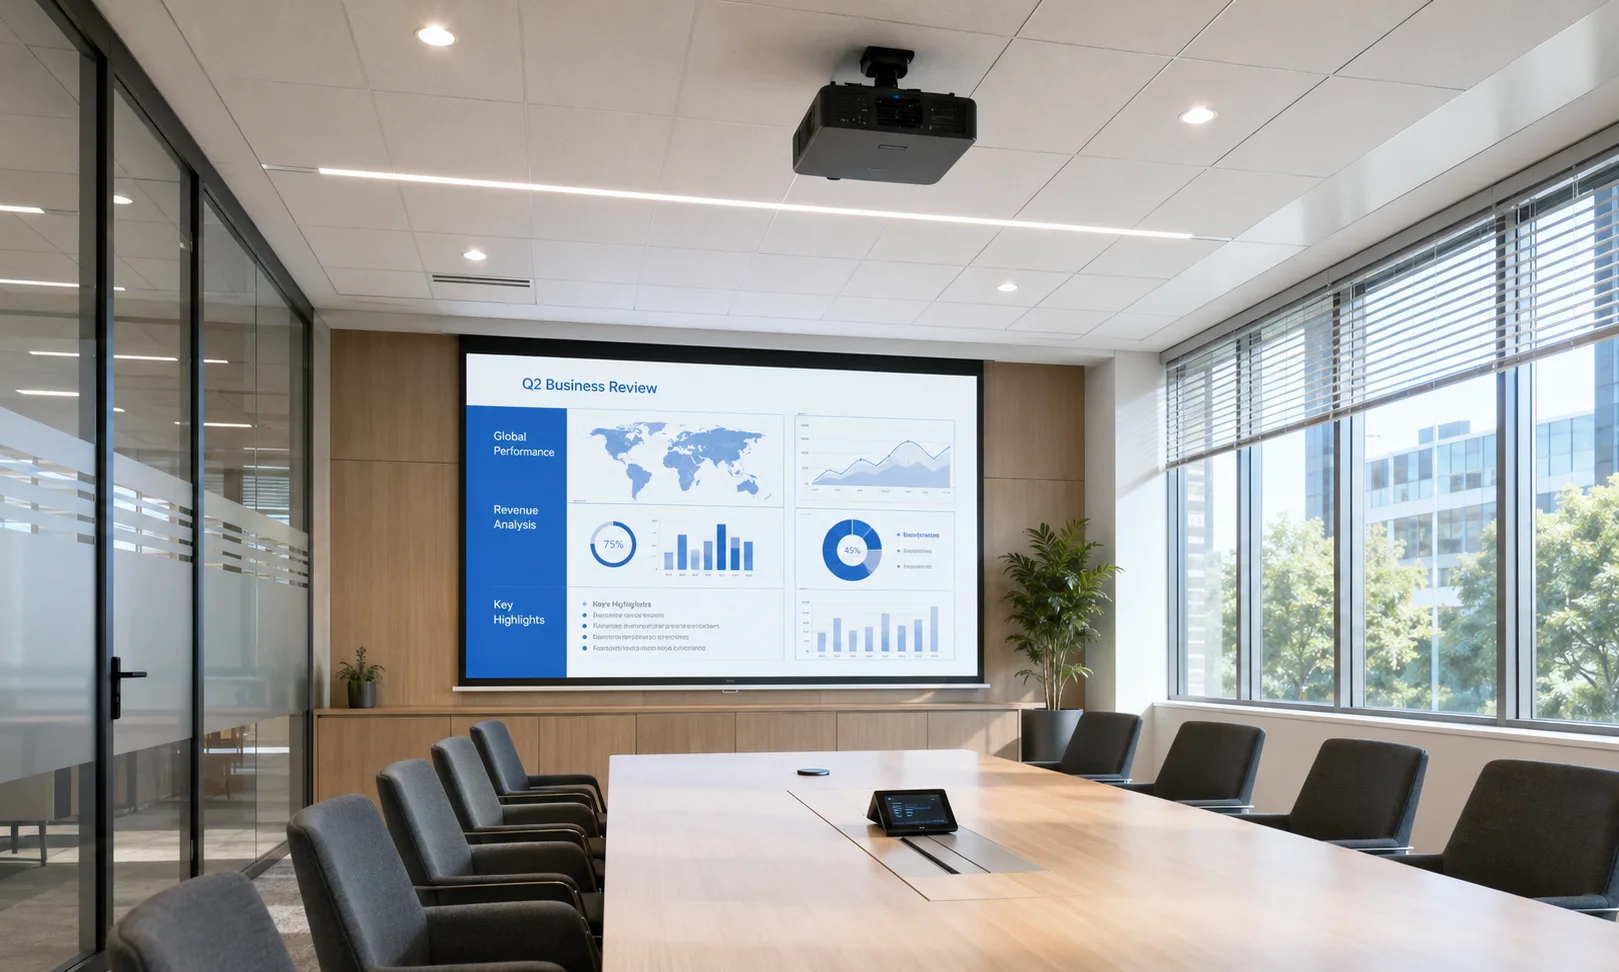
Bright, clear presentation and collaboration for meeting, training and multi-purpose rooms.
Resolution, connectivity and operating pattern matter as much as the headline brightness.
Projector, screen, presentation input, switching and room control matched to work patterns.
Documents, dashboards and video remain legible at the intended seating distance.
For spaces requiring a larger image than a conventional flat panel.
Corporate, government, hospitality and education environments.
Designed for staff, visitors and support teams who need a predictable room experience.
Assessment covers source devices, resolution, sharing workflow, ambient light and control requirements.
Best next input: most detailed content type, typical audience size and preferred source connection.
Discuss business projection ↗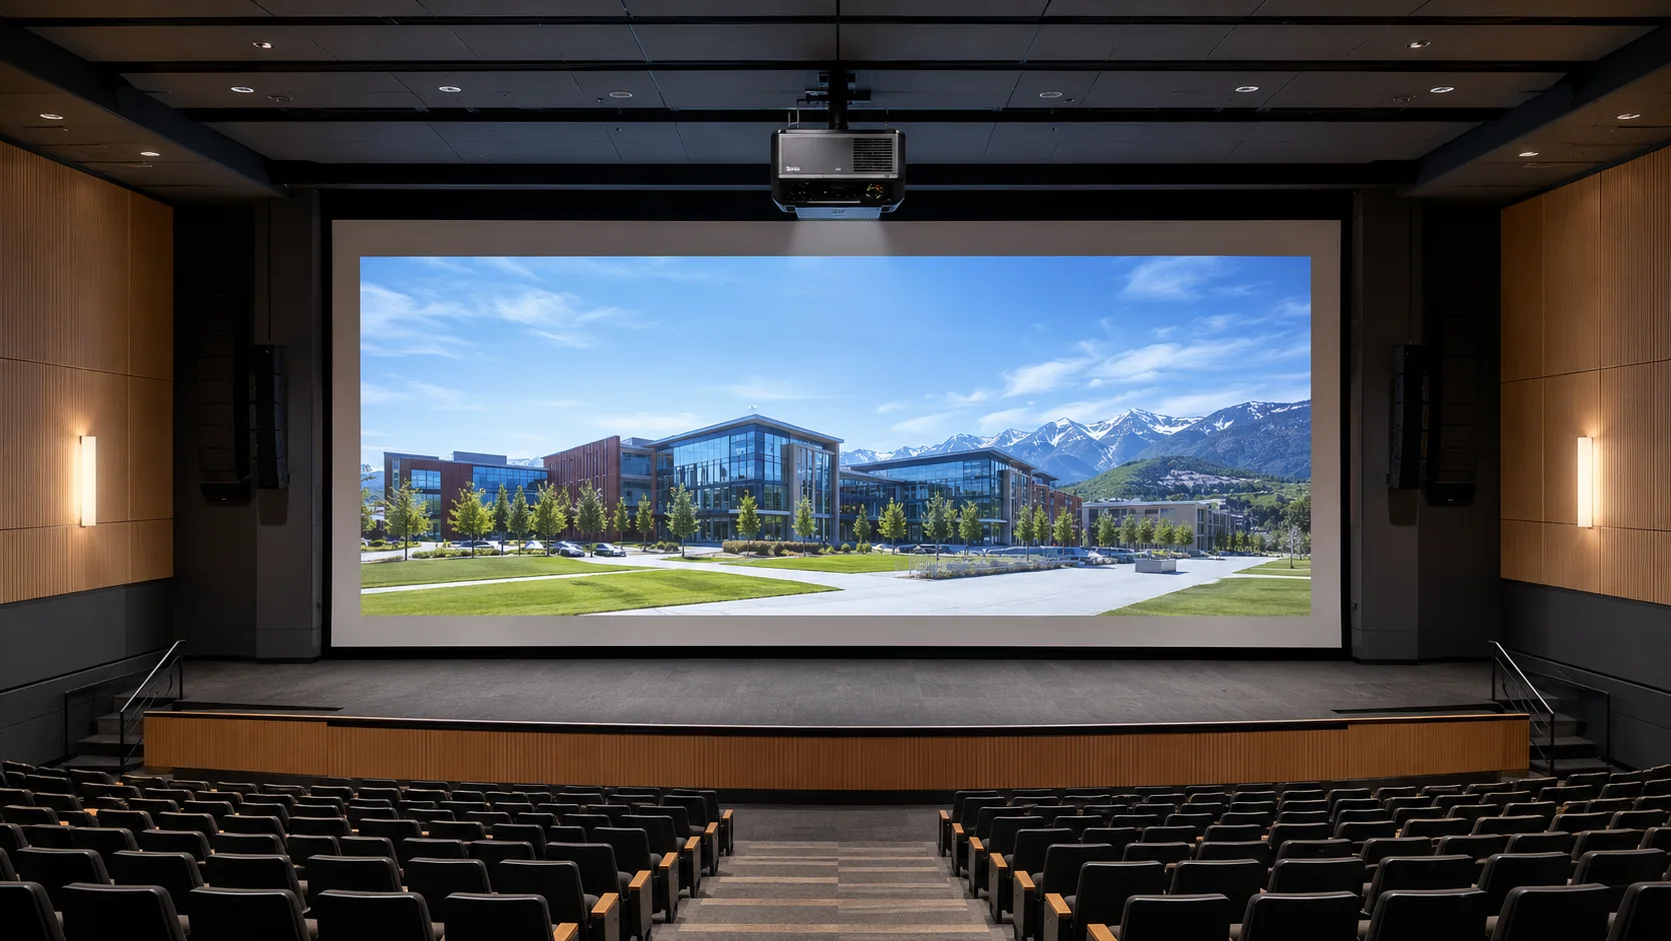
Installation-grade projection for auditoriums, halls, events, museums and large visual surfaces.
Venue scale introduces lens selection, rigging, redundancy and maintenance-access decisions.
High-output projector, engineered lens, mount or rigging, signal distribution and control.
Large images remain usable across long throw distances and challenging ambient conditions.
For performance, ceremonies, exhibitions, command briefing and public events.
Halls, ballrooms, theatres, museums, houses of worship and event spaces.
For venues needing repeatable presets, safe access and dependable operation.
PNSS calculates lens ratio, brightness, screen gain, throw, rigging, heat and service access.
Best next input: target image dimensions, projector position constraints and measured ambient light.
Discuss a large venue ↗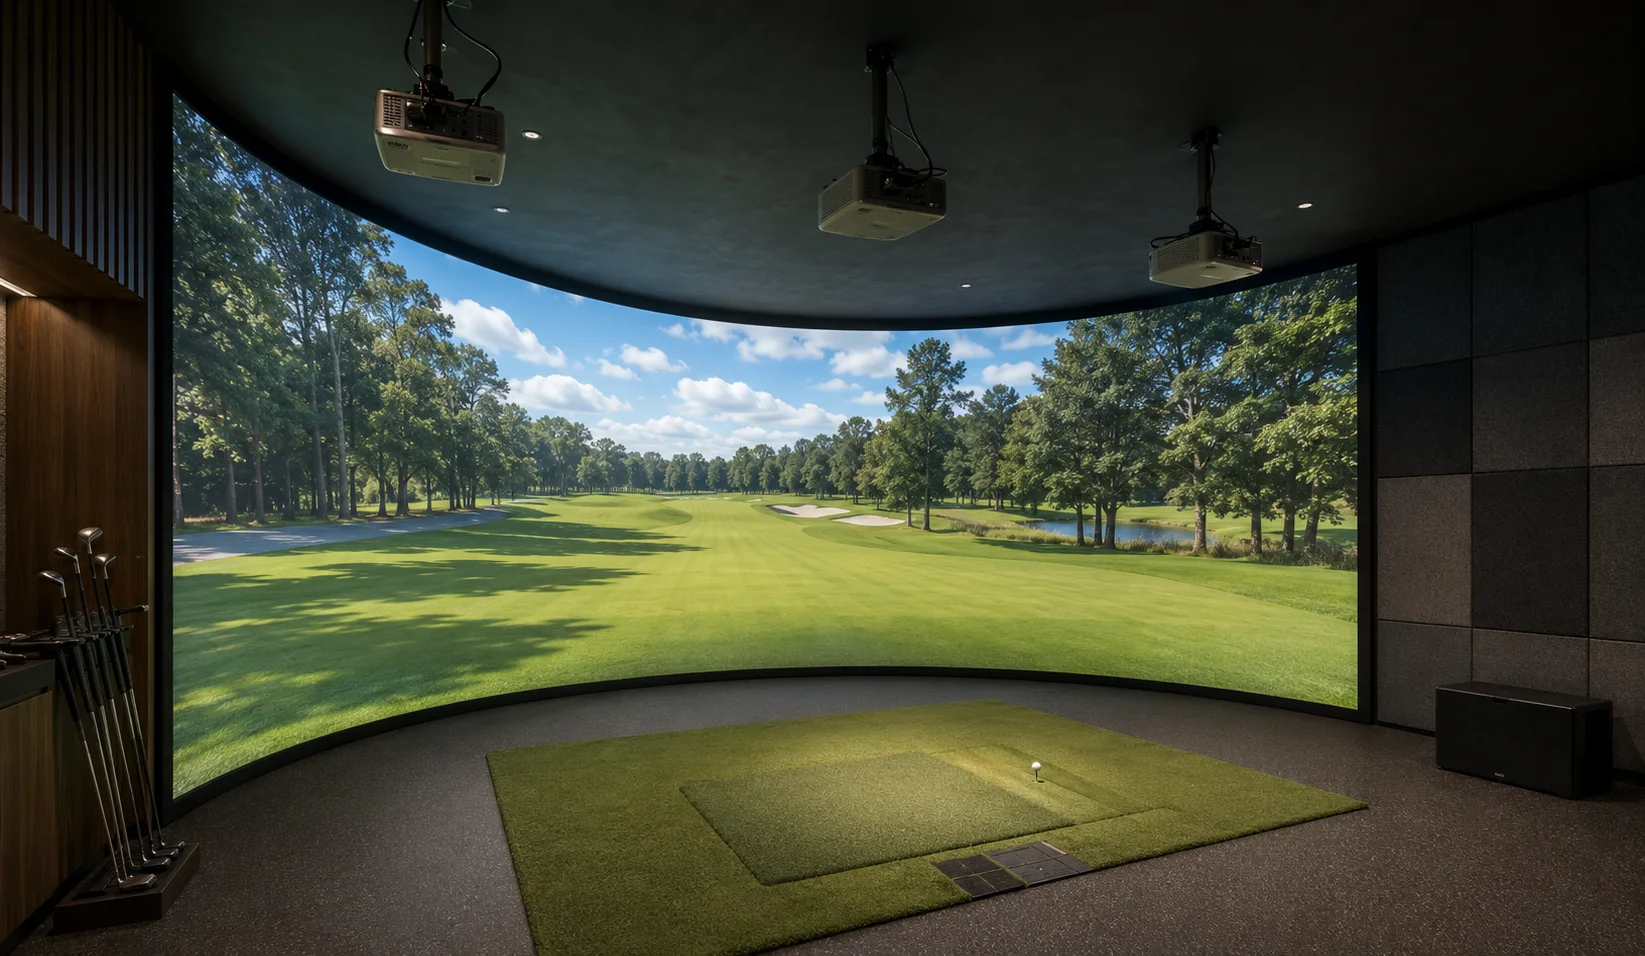
Projection planned for close-range interaction, wide canvases and software-driven visual experiences.
Geometry, shadow control, impact-screen position and image blending are application-specific.
One or more projectors integrated with simulation, playback or interactive content systems.
Projection can cover wide or shaped surfaces where standard displays are impractical.
For golf simulation, experience centres, museums, attractions and branded environments.
Rooms where projection geometry, lighting and user position can be coordinated.
Designed around both the audience experience and operator calibration workflow.
Assessment covers throw distance, image offset, overlap, latency, projection surface, sensor zones and maintenance clearance.
Best next input: simulator or content platform, target canvas size and usable projector depth.
Discuss immersive projection ↗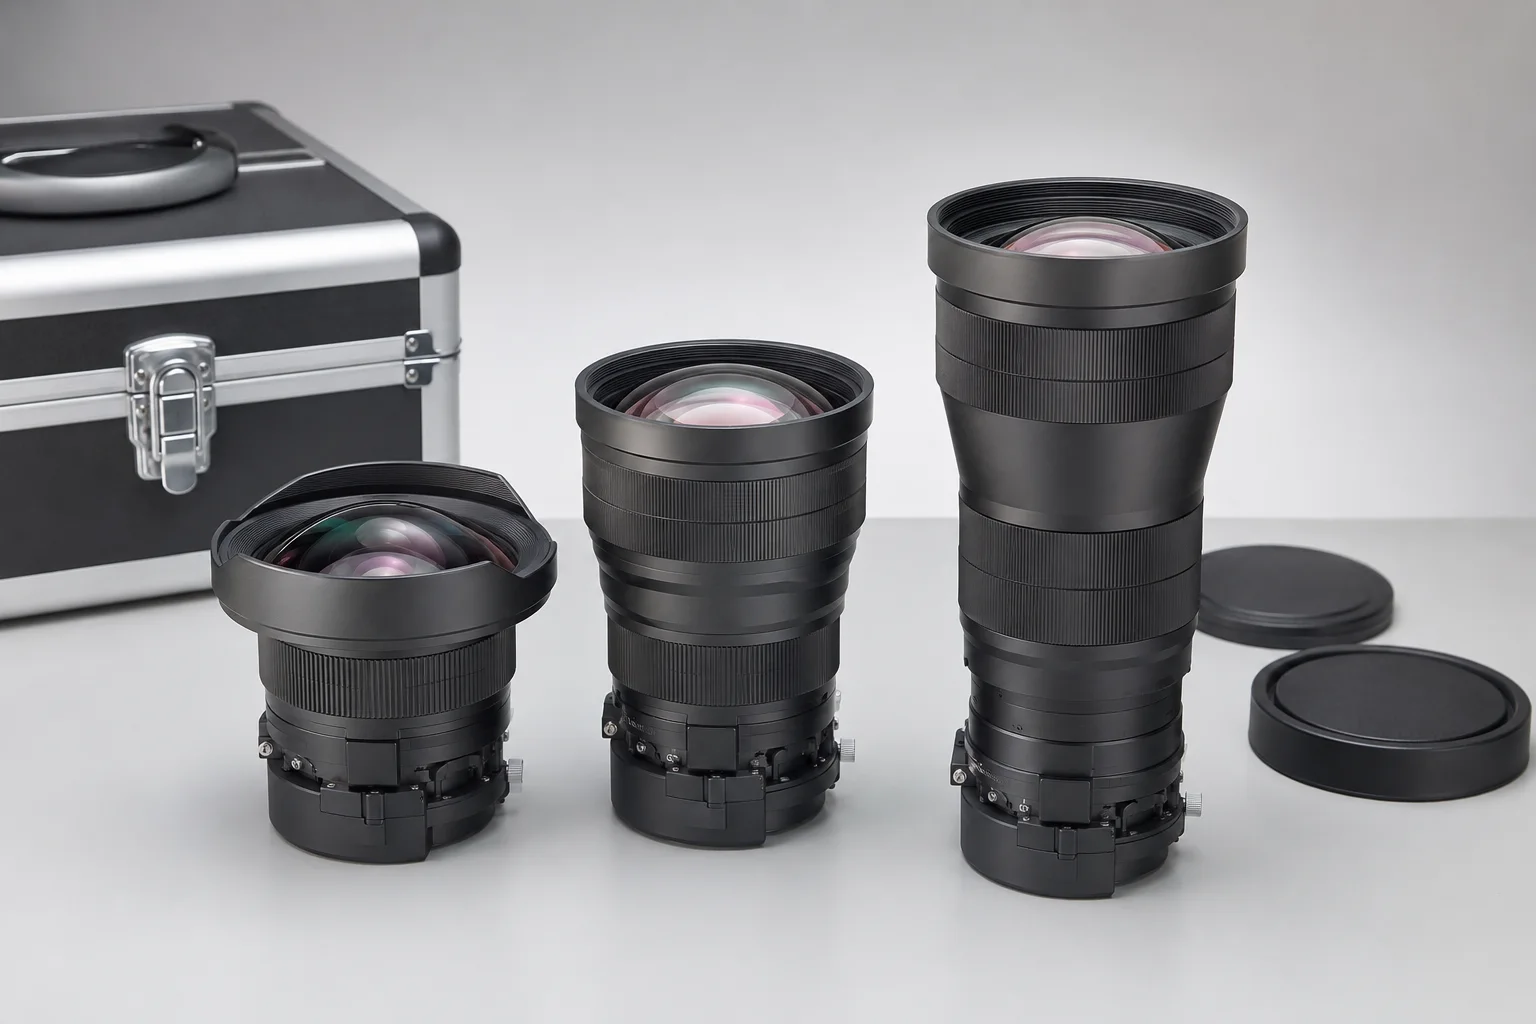
Mounts, lenses, screens, signal extension and monitoring that keep the projection system usable.
A reliable result includes the mechanical, optical, signal and management layers.
Accessories and software that position, feed, control and monitor the projector.
Correct infrastructure prevents avoidable alignment, signal and maintenance problems.
These decisions should be made before installation and reviewed during maintenance.
Especially important for high, difficult-access or multi-room deployments.
For teams responsible for monitoring, support, room readiness and replacement planning.
PNSS records configuration, tests performance, trains users and plans service access.
Final model availability and specification are confirmed against current Malaysian distribution and site requirements.
Discuss lifecycle planning ↗Selection inputs
Required screen width, height or diagonal for the room and presentation format.
Available lens-to-screen distance and any mounting restrictions.
Normal operating light, window exposure and whether lighting can be controlled.
Nearest and furthest viewer distance used to confirm image size and keep text and detail readable.
PNSS projector engineering note
Brightness matters, but it is only one part of projection design. Image geometry, lens, viewing environment, signal path and service constraints should be resolved before the model is locked.
Confirm the real screen width, aspect ratio and nearest/furthest viewer. A bright projector cannot compensate for an image that is too small or incorrectly proportioned.
Measure the usable lens-to-screen distance and mounting zone. For interchangeable-lens models, select the lens from the required throw range rather than assuming the standard lens will fit.
Assess the room with the lights and windows as they will actually be used. Brightness should be selected against the real environment, not a dark-room demonstration.
Match native resolution and aspect ratio to the content, source devices and screen. This avoids unnecessary scaling and improves text/detail readability.
Check vertical/horizontal offset, ceiling height and mounting limitations before relying on keystone correction. Optical placement should do as much of the work as possible.
Leave practical service access, ventilation and cable routes. For high-use spaces, also consider light-source life, filter maintenance, spare strategy and future replacement.
PROJECTOR FAMILIES
Once the room and image requirement are clear, open the relevant Epson family to compare exact models, throw ratios, brightness and installation references.
Application before model
Share the room dimensions, intended image size and a site photo for an informed starting point.
Need a side-by-side decision?Use the PNSS comparison guide before finalising the product shortlist.
Compare Epson throw types →